Tina: Lesson 3 and 3a
Lesson 3a projects.
OK. I’m feeling the pressure
here! For the teeny tiny cruciform studies, I drew 12 thumbnail sketches.
Here they are:


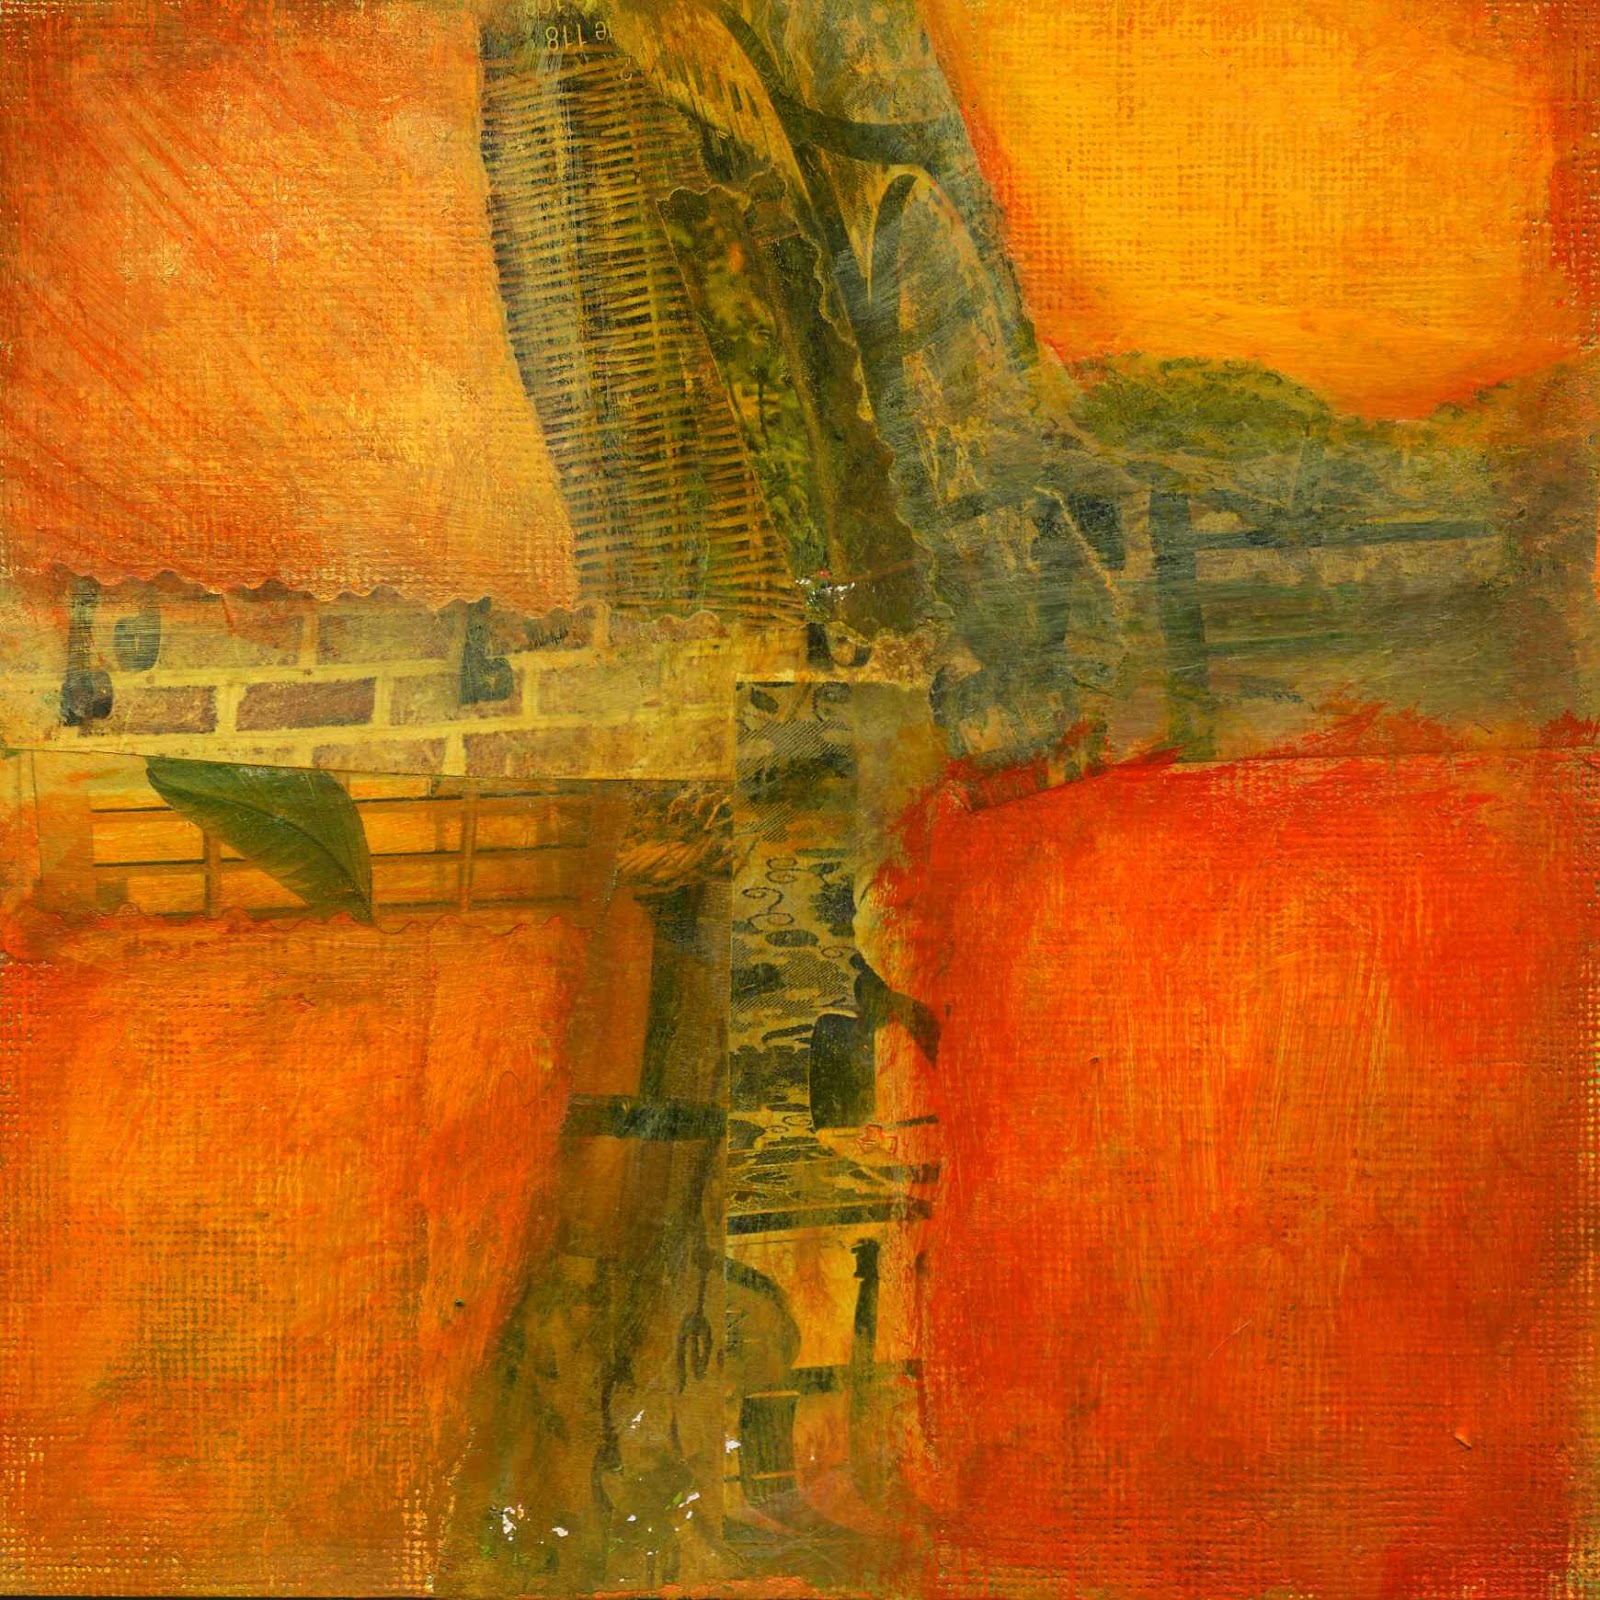
Then I did 8 pieces of 6x6
collages. This is where the learning took place. The first layer of paint on the
papers was easy. I copied some of the cruciform from the thumbnail sketches. I’m
getting to know the Basic fluid acrylic paint (i.e.: they are transparent paint
- don’t mix well to get secondary colors; and they feel like plastic). Then I
pasted the collages using matte medium on all 8 pieces. This was a bit of a
challenge to do --- which scrap paper, which color, and where to place it on the
cruciform. Then another layer of paint to integrate the foreground collage with
the background. Here monkey mind starts dancing… what and how much to obscure, what
and how much to reveal? What / where is the focal point? What is the narrative?
Hard to silence the monkey mind; but I finished all eight pieces last night. Upon
review this morning, only 5 pieces look like something… Here they are. What do
you see? I think it’s still too tight –
need to loosen up some more without changing the core of the image.


Lesson 3 project:
Going back to Lesson 3, I
decided not to agonize on this piece. Paint the cruciform and glue the collage
– all in one layer. Then go over it with more layers, blue, yellow, green, and
white. I found a piece of bubble wrap and used it in one quadrant just to see
how it looks. I found a small folded hair comb. Used the comb to scratch
straight lines in the paint in one quadrant, and used the tip of the brush to
put dots in one quadrant and smeared paint randomly on the last quadrant. Voila,
a Cruciform with texture, positive and negative space - but still no focal point, no narrative, yet.. I think I got the process
down, yes? What do you think?

4 comments:
 Susan WilenskyMarch 31, 2013 at 1:20 PMYou work well under pressure..lovely pieces. I love the intensity of color and intricacies of pattern..Reply
- Thank You Susan, you are very kind. ..."Intensity of color and intricacies of pattern," - hmmm, that sounds like me... intense and complicated... :-)Delete
 Tina, you did an awesome job! Love the description of your inner process, too. It IS hard to silence the monkey mind, so what you have to do is let it be there, but over-ride it. You tell it: yes, I know you are criticizing everything I do, analyzing, telling me I've done too much of this, too little of that, that my piece is not "correct", but I am going to go with my gut, my eyes, and not agonize over this piece. You can sit over in THAT corner and chatter all you like. You got a nice variety of cruciforms. I'd like to see the others.Reply
Did I say anything about focal point or narrative? No. I think I said to just explore the format in these studies (well, I probably said a few other things). But that monkey mind has a lot to say. You did a great job of exploring the format in these studies, which is THE WHOLE POINT. Well done!
And then the lesson 3 piece - very nice job. And still, NOBODY is saying anything about focal point and narrative. In these lessons I am trying to have you focus on very specific aspects of composition, just a few at a time. Not everything at once. You got positive and negative space, and you got some interesting texture. You could push the edges a little more so that you have more ambiguous space, so that it looks a little less like Cross On Background. This is why I'd like to see your other studies - to see if you have some more ambiguous space in them, as you do in #1 and #2.
Oh. The thumbnails: they look great! You Got it Girl!! don't loose it now...Great works even the sketch book assignment.Reply